

BUDGET MACROPHOTOGRAPHY FOR LEAN
 A closeup can open the world for you from an unfamiliar, amazing and magical side. But very often, the high price of equipment, especially lenses, becomes a serious obstacle to entry into the macro world. Today we’ll talk about how to overcome this obstacle with the help of very inexpensive and ingenious tricks that will literally help you get closer to the subject.
Do not break your camera
The methods and devices discussed in this article are characterized by one main characteristic – they are very inexpensive. Using them will allow you to achieve not stunning professional shots, but decent results (but, believe me, they are not a hindrance to stunning shots!).
Some of the methods described in the article, if applied incorrectly, can harm your lens or camera. For this reason, we urge you to act with care and avoid anything that you think could damage your technique.
Ultimately, buying a high-quality macro lens is the best way to achieve maximum results. If you strive for high-quality photos of a professional level, then there are no alternatives to such an acquisition. But for the first steps into the world of macro photography and creative experiments, the following methods will work.
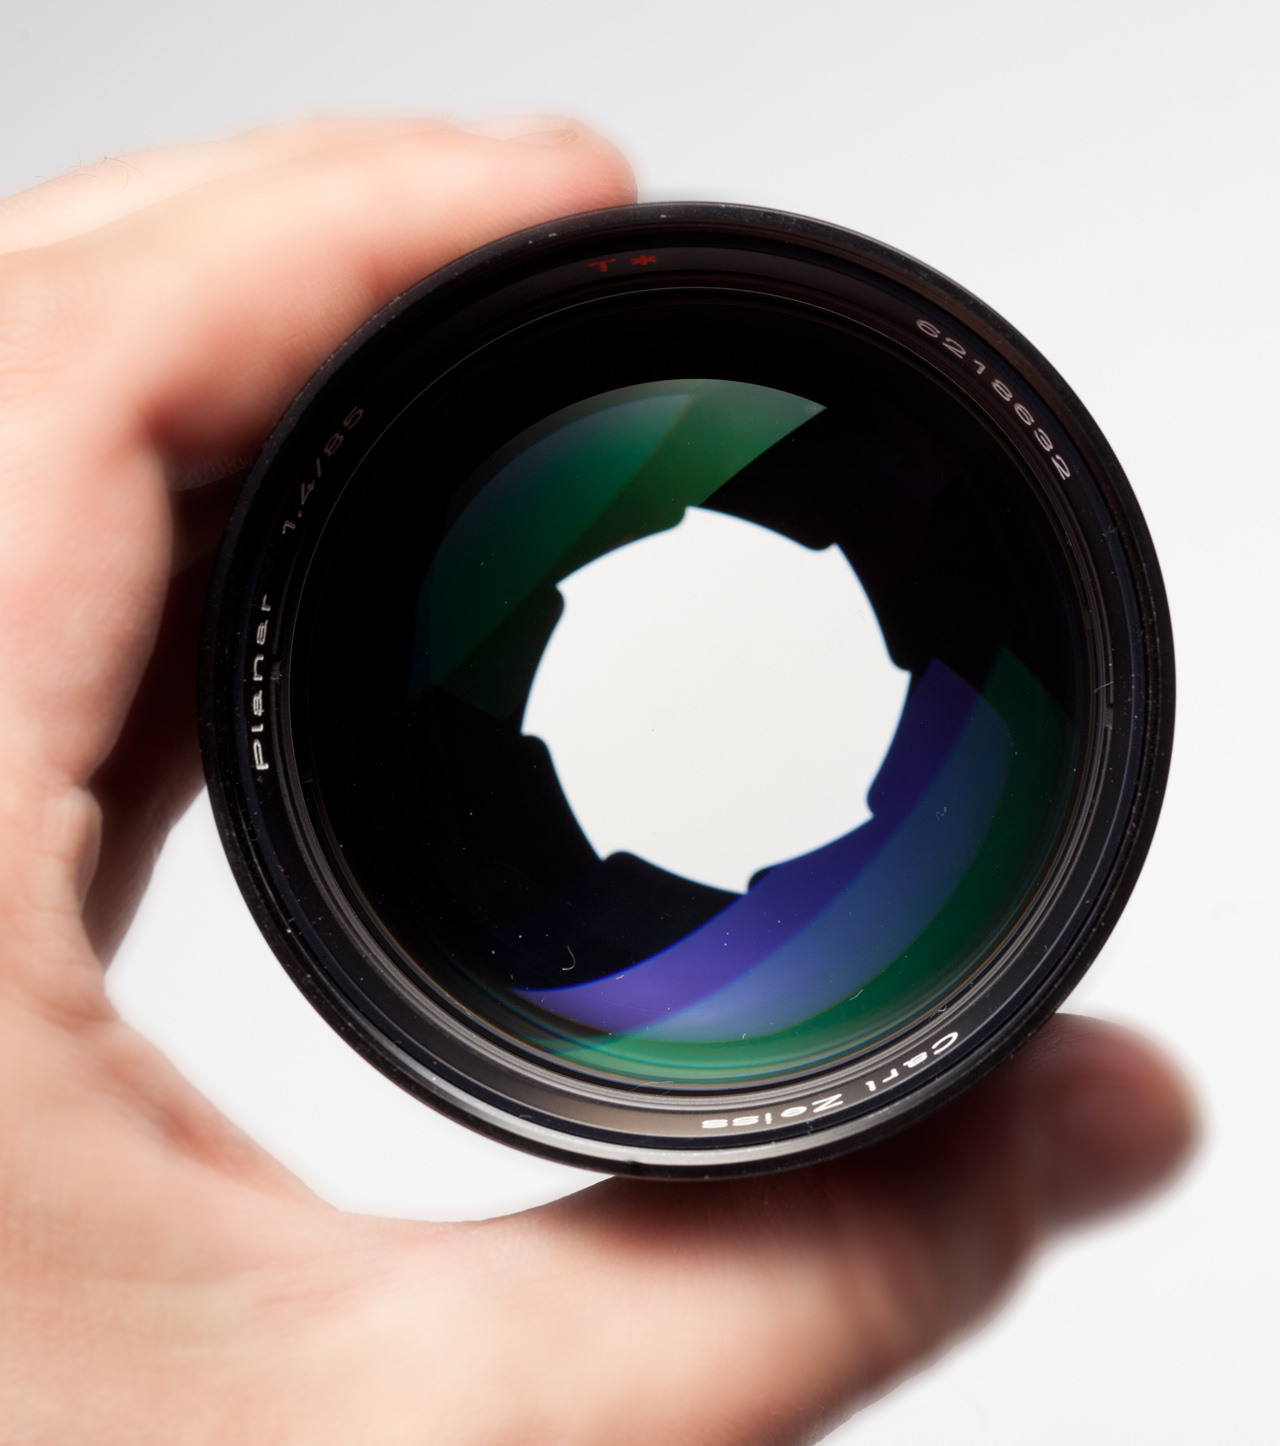
Backwards, or Reversible Rings
Budget Closeup for Lean
This is probably the most eccentric of the methods described in the article. It turns out that in order to make the lens shoot from a short distance, you just need to flip it backwards! There are a lot of detailed technical explanations for this, but if you do not have serious mathematical training and knowledge in the theory of focal lengths and diopters, then they will simply confuse your head.
Just remember that shooting through a lens mounted backwards can provide greater magnification.
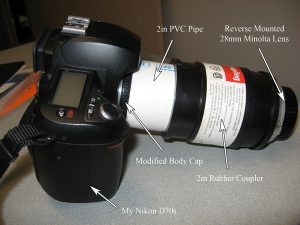
Do it yourself
The photo below gives an idea that there is no limit to the flight of imagination of homemade people, and you can’t refuse them ingenuity.
Budget Closeup for Lean
In fact, the installation in the photograph is a combination of the extension ring method (which we will also discuss in this article) and the reverse lens mount. You need to take the bayonet cover that came with your camera and cut a large hole in it – this cover will become a mount to the camera. A plastic tube must be attached to the hole made, and in turn, put on a rubber connector on it.
The lens, turning it backwards, must be inserted into this connector. Make sure that all parts hold tight and nothing falls apart, crashed to the ground.
In addition, you can primer parts of the resulting structure and paint them black so that when assembled, it does not look like a water pipe sticking out of your camera.
By the way, if you don’t feel sorry for the equipment at all, then you can forget about any difficulties with pipes and connections and just use ordinary tape.
Budget Closeup for Lean
Reversible rings
But a much easier and safer solution is to purchase a reversible ring. There is a bayonet mount on one side of the reversing ring, with which you attach it to the camera, and on the other, there is a threaded connection that you screw into the filter thread on the front section of the lens. The ring allows you to quickly and easily mount the lens backwards and reduces the risk of the lens falling out and breaking.
Budget Closeup for Lean
Reversible rings are quite inexpensive. It is even better to use reversible rings, which allow you to mount the lens back to front to another lens. The image below shows the Canon EF 50mm f / 1.4 lens mounted on a Canon EF 100mm f / 2.8 macro macro lens.
Budget Closeup for Lean
The photos below are made using different reverse rings, they will help to get an idea about the possibilities of this method.
Extension rings
Extension rings, which can be used both independently and in combination with a reversible lens mount, actually serve to increase the length of your lens. Using an extension ring, or “macro ring” allows you to bring the lens closer to the subject, while maintaining the ability to focus. Usually, without using macro rings, the lens is not able to focus at such a close distance.
As a rule, extension rings are sold in sets of rings of different lengths. The longer the macro ring, the closer the lens can focus when applied. A typical set consists of rings 12, 20 and 36 millimeters long.
Budget Closeup for Lean
Sets of macro rings are much more expensive than reverse rings, but still much cheaper than a good macro lens. And do not forget that you can independently make an extension ring from a piece of plastic pipe and a pair of connectors.